


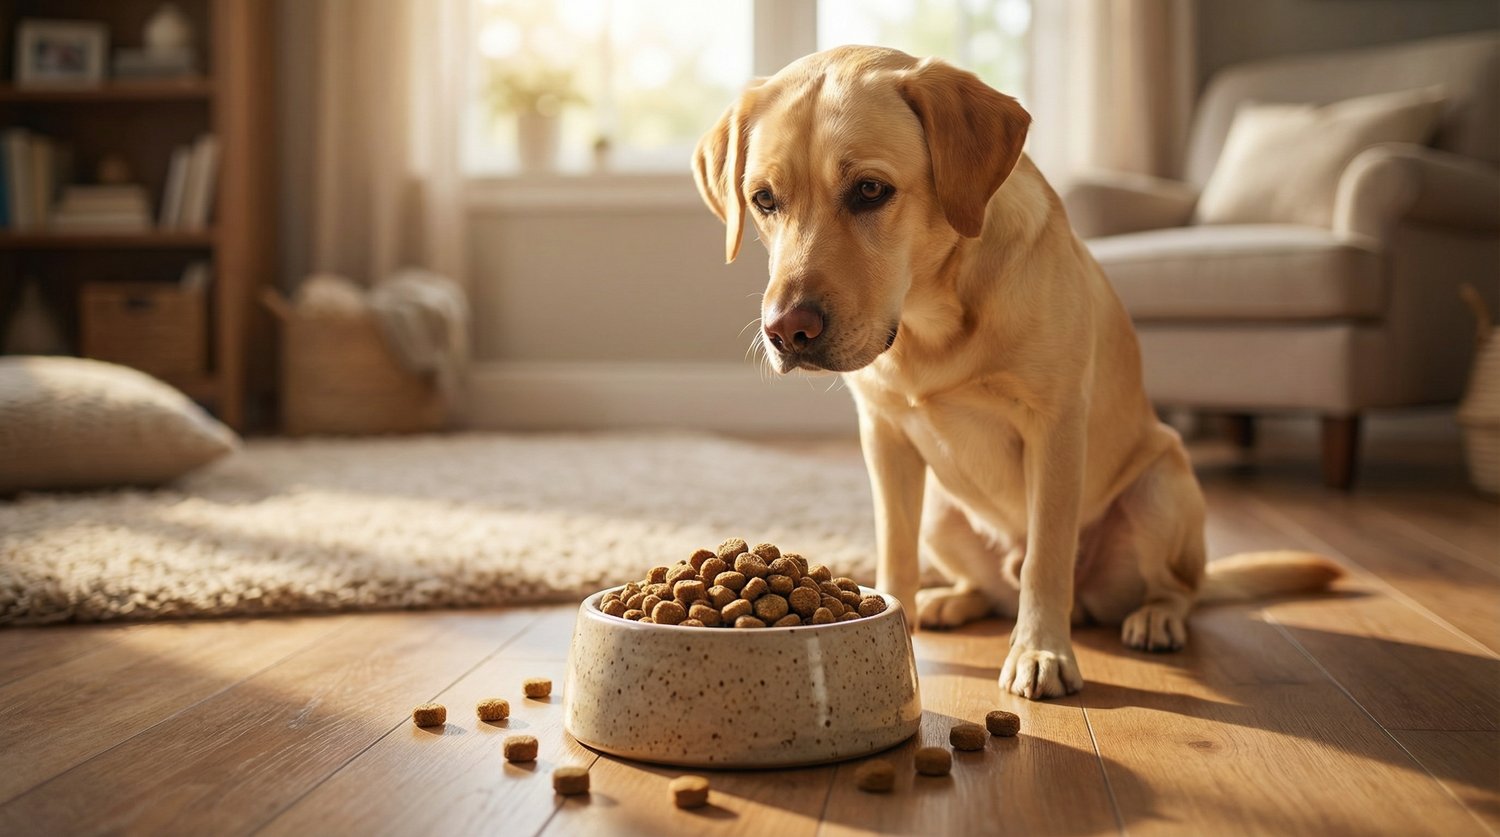
Every dog deserves a place where they can feel safe, comfortable, and secure while enjoying the great outdoors. Building the perfect outdoor kennel for your furry friend is a rewarding project that combines creativity, practicality, and a touch of love. Whether you’re a seasoned DIY enthusiast or a first-time builder, our step-by-step guide will help you create a dog house that your pet will adore. Let’s get started!
Step 1: Planning and Designing
Consider Your Dog’s Needs
Before you pick up any tools, it’s important to consider your dog’s specific needs. Think about their size, breed, and behavior. A large dog will need more space, while a smaller dog might appreciate a cozier nook. If your dog is particularly active, make sure there’s enough room for them to move around comfortably.
Location, Location, Location
Choose a spot in your yard that offers a balance of sunlight and shade. Your dog should be able to enjoy the warmth of the sun without overheating. Also, consider the proximity to your house for easy access and interaction.
Design Features
Sketch out your design with features that will make the kennel comfortable and functional:
- Insulated walls and roof: To keep your dog warm in winter and cool in summer.
- Elevated floor: Prevents dampness and improves air circulation.
- Ventilation: Ensure proper airflow to keep the kennel fresh and odor-free.
- Easy access: Include a door that is large enough for your dog but can be secured to keep them safe.
Step 2: Gathering Materials and Tools
Materials
- Plywood or weather-resistant wood
- Insulation material
- Roofing material (shingles or metal)
- Screws and nails
- Hinges and latch for the door
- Paint or sealant for weatherproofing
Tools
- Measuring tape
- Saw
- Hammer and nails or power drill and screws
- Paintbrushes or rollers
- Sandpaper
Step 3: Building the Base
Measure and Cut
Start by measuring and cutting the pieces for the base and floor. The size will depend on your dog’s dimensions and the space you have available.
Assemble the Base
Construct a sturdy frame using 2x4s or similar lumber. Attach the floor panels to the frame, ensuring it’s strong enough to support your dog’s weight.
Elevate the Floor
Use bricks, concrete blocks, or additional lumber to lift the base off the ground. This will help keep the kennel dry and well-ventilated.
Step 4: Constructing the Walls and Roof
Wall Panels
Measure, cut, and assemble the wall panels. Include insulation material between the inner and outer walls for better temperature control. Ensure there’s an opening for the door.
Roof Panels
Construct the roof with a slight pitch to allow rainwater to run off. Insulate the roof and cover it with weather-resistant materials like shingles or metal sheets.
Attach Walls to the Base
Securely attach the wall panels to the base. Use screws for a stronger hold. Ensure that the structure is square and level.
Celebrate Your Love for Dogs with Our Exclusive T-Shirts!

Visit our shop today and find the perfect t-shirt to express your Dog pride. Let’s celebrate our furry friends in style!
Wear your heart on your sleeve (literally) and join our community of Doglovers!
Step 5: Installing the Door and Ventilation
Door Installation
Attach the door using sturdy hinges. Install a latch that can be secured but is easy for you to operate. Consider adding a rubber flap to the door for better insulation and weather protection.
Ventilation
Drill small holes near the top of the walls or include vents to allow for airflow. Make sure these are covered with mesh to keep insects out.
Step 6: Finishing Touches
Sand and Paint
Sand down any rough edges and surfaces to prevent splinters. Paint or seal the kennel with a weatherproof coating to protect the wood and enhance its durability.
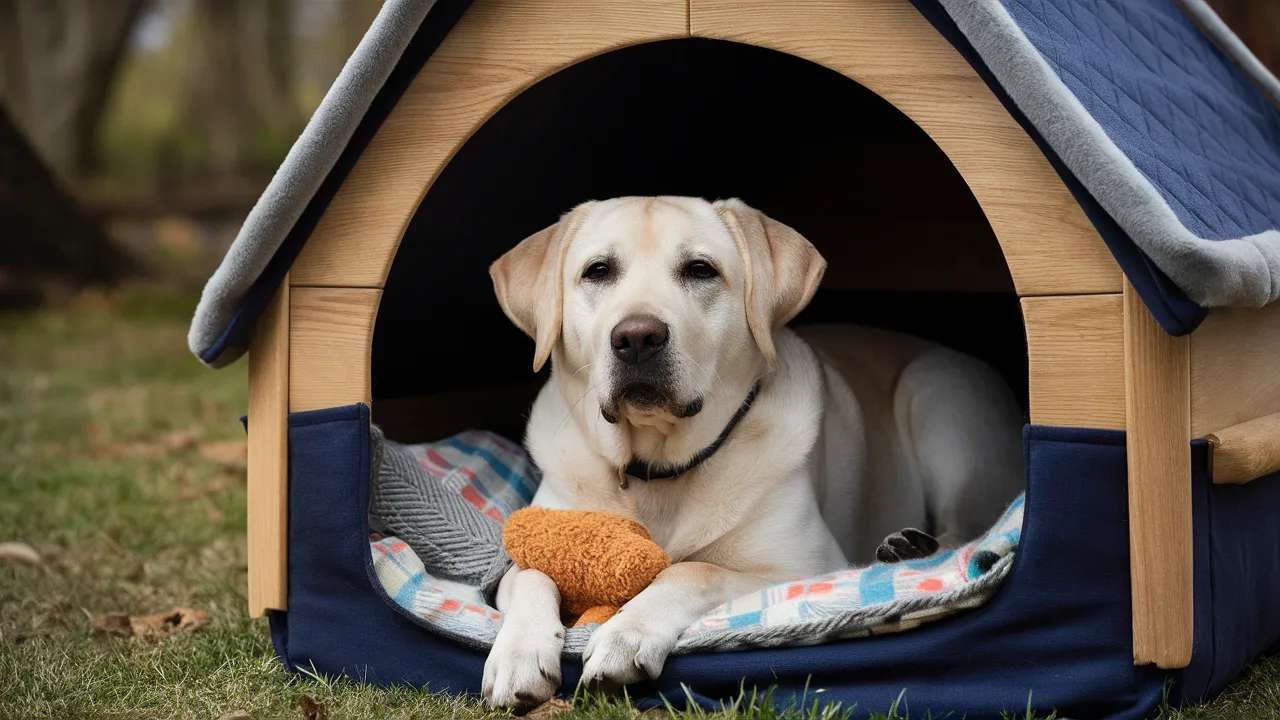
Comfort Inside
Add a cozy bed, blankets, or mats to the inside of the kennel. Consider including some of your dog’s favorite toys to make it feel like home.
Test for Safety
Before letting your dog use the kennel, inspect it thoroughly for any sharp edges or loose parts. Ensure everything is secure and safe.
Step 7: Introducing Your Dog to Their New Home
Gradual Introduction
Let your dog explore the new kennel at their own pace. Encourage them with treats and positive reinforcement. Make the space inviting and reassuring.
Monitor and Adjust
Keep an eye on your dog as they get used to their new outdoor home. Make any necessary adjustments to improve comfort and safety.
Building the perfect outdoor kennel is a labor of love that pays off with a happy, comfortable, and safe space for your dog. By following these steps and considering your dog’s unique needs, you’ll create a kennel that’s not just functional but also a cozy retreat for your furry friend. So roll up your sleeves, gather your materials, and let’s get building—Pluto will thank you with wagging tails and joyful barks!
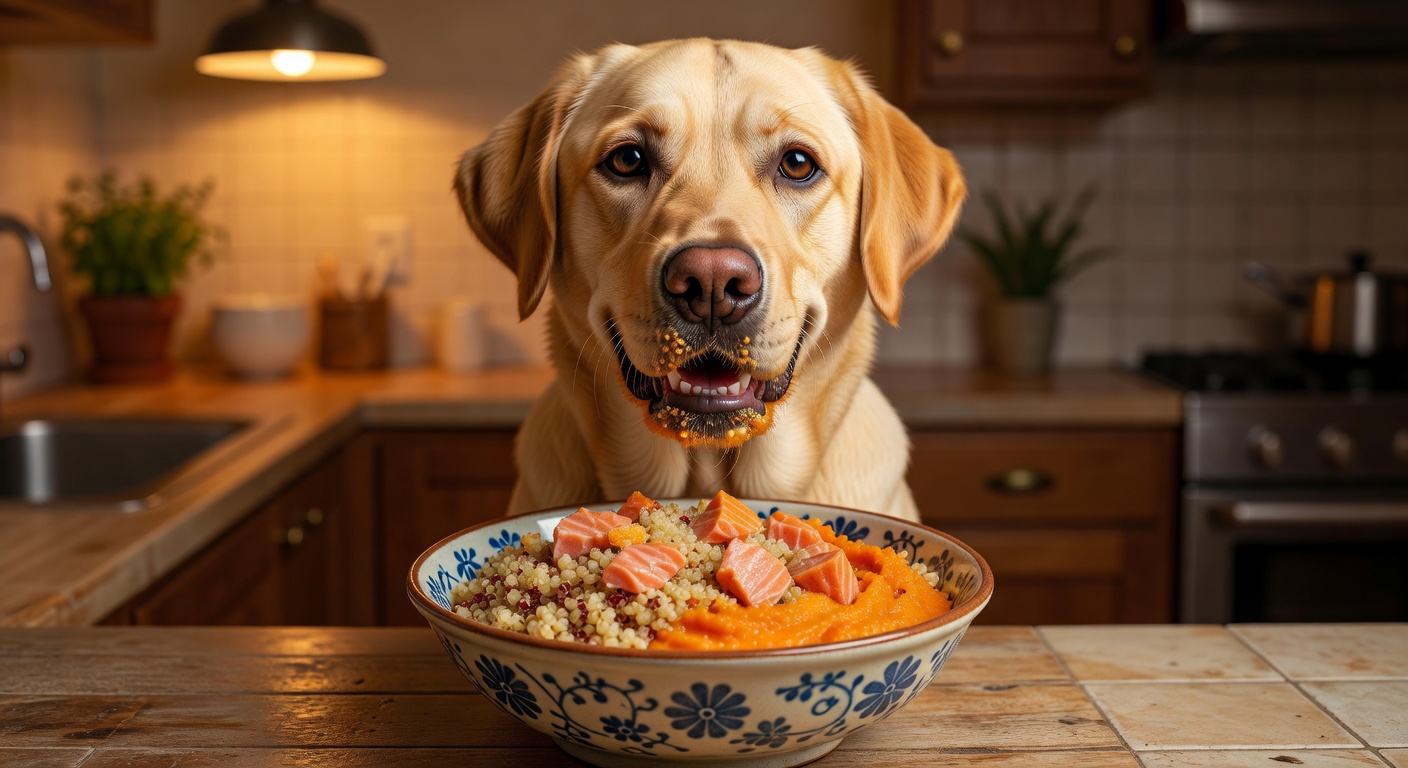
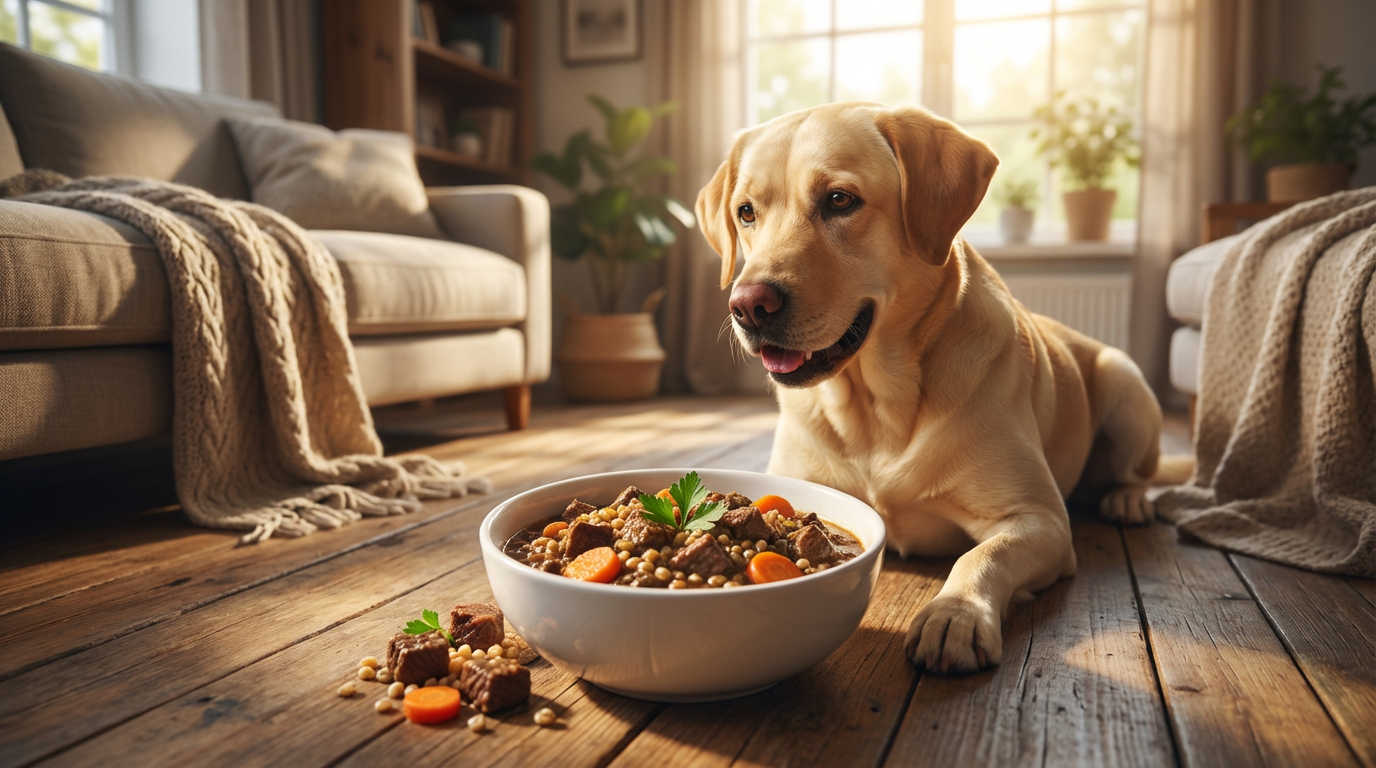
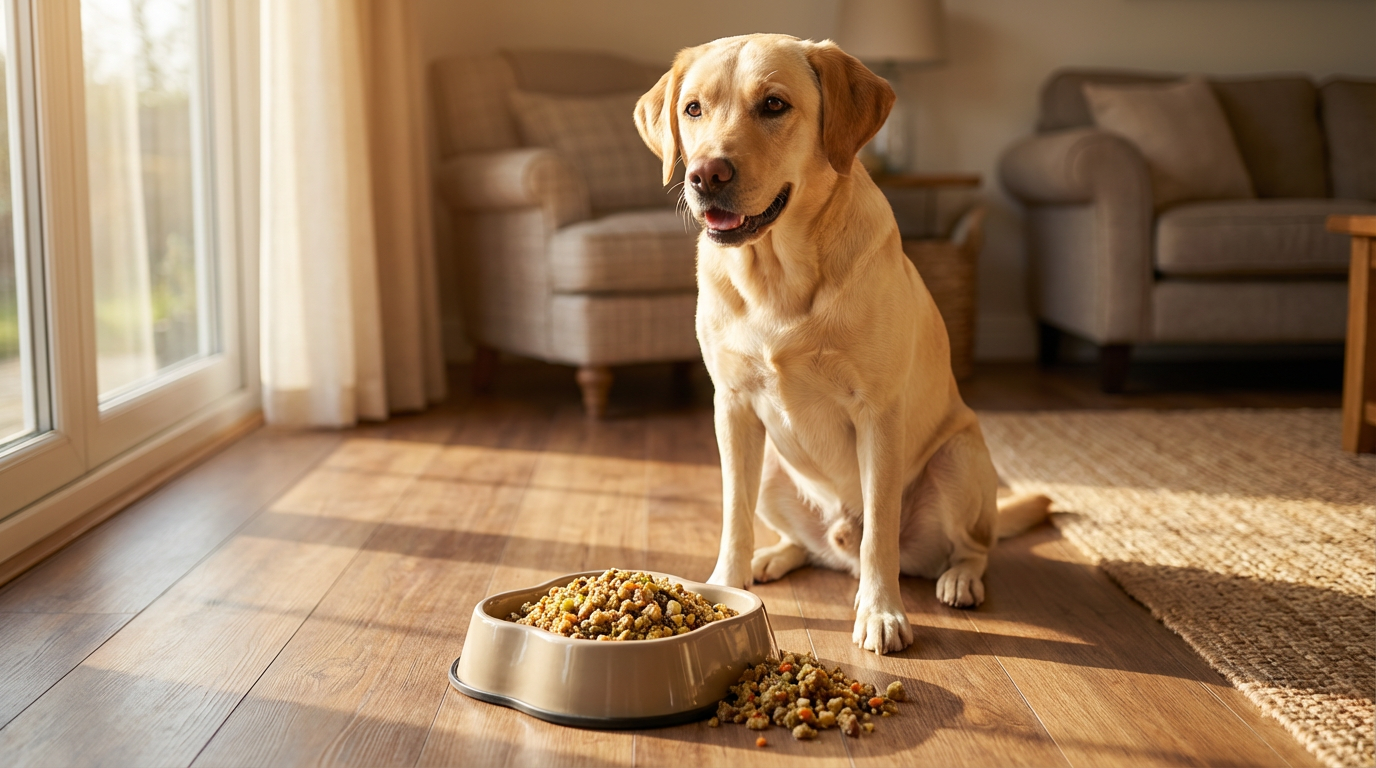
Introducing "Pawsitively Perfect: 110+ Gourmet Home-Made Dog Food Recipes for Healthy, Happy Pups"!

Are you passionate about providing the best nutrition for your Dog? Look no further! Our exclusive cookbook, "Pawsitively Perfect," offers over 110 gourmet home-made dog food recipes that are crafted to keep your pup healthy and happy. From nutrient-rich meals to delicious treats, each recipe is designed with your dog's well-being in mind.
Treat your furry friend to the best with "Pawsitively Perfect." Elevate their diet and watch them thrive with these gourmet recipes made with love.
👉 Get Your Copy Today and start cooking up a storm for your beloved Dog!


Comments ()