
How to Make Knitting Patterns & Sell Them Online [Ultimate Guide]
Last updated: May 30, 2026
Are you a knitting enthusiast looking to make some extra income? One option to consider is to sell your knitting patterns. With the right platform and some knowledge of how to promote your work, you can turn your passion into a business. This article will provide a step-by-step guide on how to sell knitting patterns and make a profit.
Here’s a quick list of things we’ll cover:
- What is a knitting pattern?
- How to make knitting patterns: Step-by-step guide
- How to sell knitting patterns online for free
- Troubleshooting common issues when selling knitting patterns
- FAQ
This blogpost is made possible with the valuable contribution from knitting pattern seller Victoria Marchant Knits.
What is a knitting pattern?
A knitting pattern is simply a set of written instructions on how to knit a particular item. It tells you everything you need to know to create the item: what type of yarn to use, the gauge, any other materials or special tools needed, the size(s) of the finished item, and of course the stitches to use.
How to Make Knitting Patterns: Step-by-step Guide
Creating your first pattern can be a daunting task, but here are the step-by-step instructions to make your pattern writing life easier.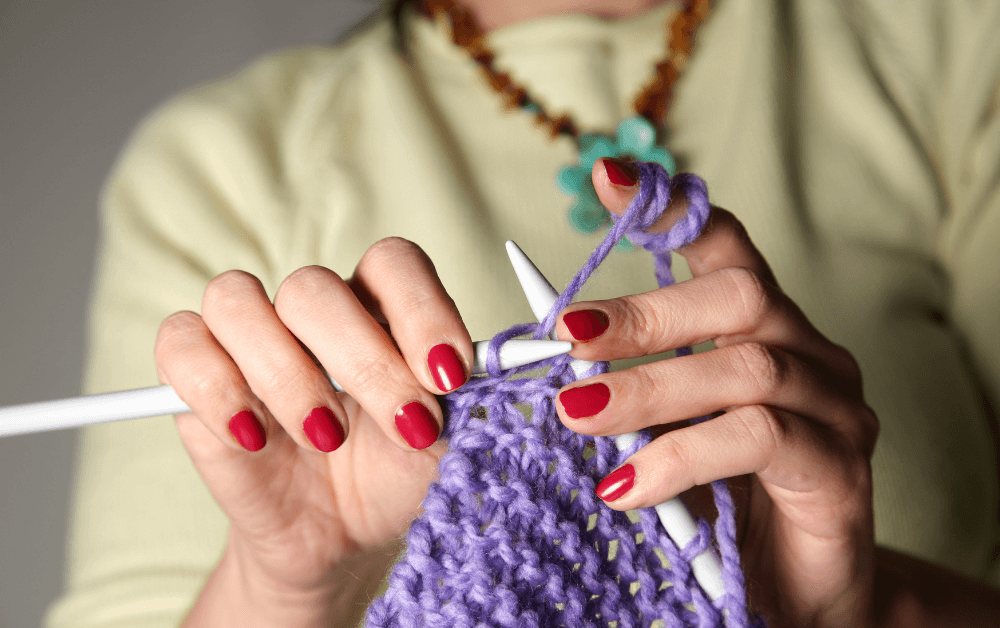
1. Identifying Your Target Audience
Before you start making and selling your own patterns, it’s important to identify your target audience. Think about who would be interested in your patterns. What type of knitter are you targeting – beginner knitters or experienced knitters? Knowing who you are targeting will help you create patterns that appeal to your audience.
You can also use market research to help you identify your target audience. Look at what other knitting patterns are popular and who is buying them. This can give you an idea of who your target audience is and what type of patterns they are looking for.
2. Decide on Your Product Type
Once you have a better idea of your target audience, decide what type of products you would like to create knitting patterns for. Some great beginner-friendly patterns include things such as scarves, dishcloths, baby booties, socks, or small blankets. If you’re designing knitting patterns for more advanced knitters, you may be able to create patterns for dresses, sweaters, or other more complicated garments and accessories.
3. Sketch Your Design
At this stage, it’s a good idea to start drawing a rough sketch of what your desired end product will look like. Start thinking about what types of yarn would you recommend for your design, as well as which stitches and techniques would be needed to create your design. If you’re not confident with your sketching skills, don’t worry, you just need to be able to create a basic concept and approximate silhouette where you can jot down some information about your intended stitching patterns, yarn weight, and more.
Remember to keep your target audience in mind when thinking about your stitching patterns. Do you intend for them to create complex knitting products or do you want your knitting pattern to be doable for an easy knit-while-you-Netflix type of knitting?
If you’re creating wearable garments, be mindful of the patterns and techniques that could impact the functionality. For example, cable knits might result in thicker knitted garments and are more suitable for winter sweaters. Here is a great resource for inspiration on various knitting patterns to get your creative juices flowing.
4. Knit a Sample Swatch
Creating a swatch is an important step. It simply involves creating a small sample of knitting in your desired yard, needle size, and stitch pattern. This allows you to see your design on a small scale, check that your fabric looks and behaves the way you want it to, and confirms your gauge, which is vital for grading.
You will also be able to determine your knitting gauge to make sure your own pattern is accurate. To do this, knit a large sample (at least 6” square – though it doesn’t have to be a square!) with the needles you’ve chosen for your pattern, remembering to swatch in the round if you’re going to be working in the round, and measure how many stitches and rows you’ve made per inch. See this article for a more detailed guide on how to accurately measure knitting gauge.
5. Write Your Knitting Pattern Instructions
There are plenty of free editors suitable for creating knitting patterns, such as Google Docs and Sheets. You can also use a free online graphic design tool like Canva, which provides more tools to make your document look polished and professional. Once you’ve established yourself as a knitting designer, you may want to consider investing in other software such as Adobe InDesign, as you’re able to create professional document layouts.
When deciding the layout of your pattern document, you’ll want to consider how the document will be used. Think about how you’ve used knitting patterns in the past: do you read them on a screen, or print them out? Do you make notes on them? These things will affect your layout design choices.
You may also want to consider accessibility needs here. There is actually a thriving community of blind and low vision knitters, so think about (for example) how well your document will work with a screen reader. There are guidelines for visually accessible knitting patterns, which you can read about here.
Now it’s time to write your knitting instructions down. A good knitting pattern typically has the following elements:
- Written instructions, row by row or round by round, to create the item
- A list of abbreviations used and explanation of what each one means
- Charts for any stitch pattern or colorwork, including a key
- Yarn weight and how much yarn is needed
- Needle size
- A list of any other tools or notions needed
- Size and measurements of the end product, including a schematic for anything complex or which goes on a body
- Photos of the finished product, both on and off a body where appropriate
- Information about you as the designer
- Terms of use
When writing your first pattern, you will make a huge number of decisions about your writing style. Start a Style Guide document and write down every choice you make, from font name and size to whether you capitalize the first instruction of a row or round or not. This Style Guide will become an invaluable reference for you and your tech editor (see below) to ensure that your patterns are written consistently and your customers know exactly what to expect when buying from you.
Keep your knitting pattern draft in an editable format, as you may make further changes as you create a sample of your finished product.
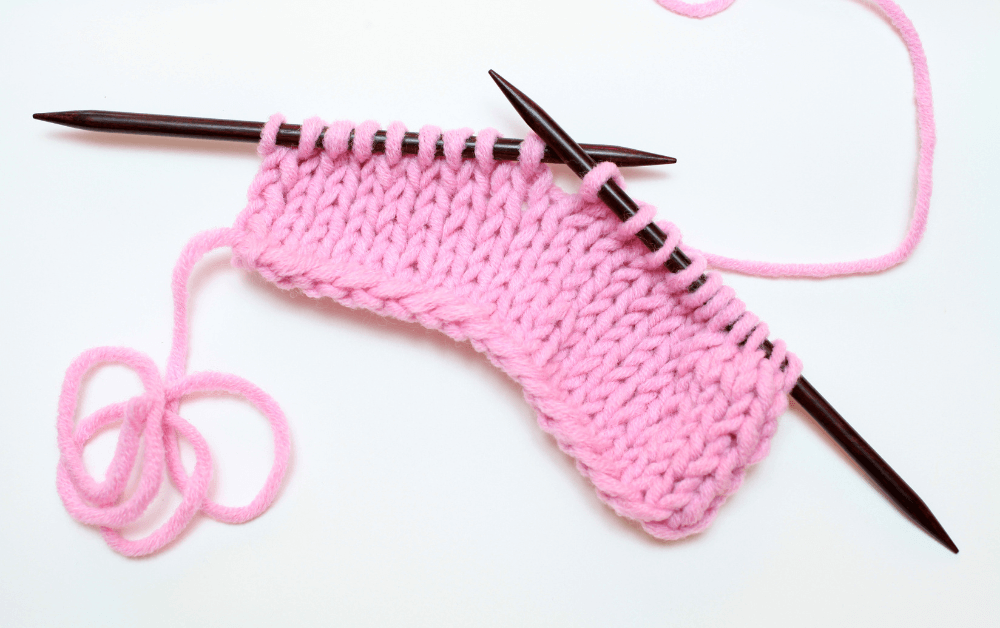
6. Create a Sample of Your Finished Product
Now that you’ve written somewhat comprehensive knitting pattern instructions, follow your own instructions and start knitting a sample of your finished product. You will need to follow your instructions line by line to make sure that you can spot any errors or missing information.
Don’t forget to take lots of pictures when you’re knitting as you can incorporate those pictures into your knitting pattern instructions. These also make great social media content for building up excitement before your pattern comes out! You should also take lots of high-quality pictures of your finished product, showing close-ups of design details and special techniques, as your target audience would want to see the finished product to determine whether or not they would want to purchase your knitting patterns.
7. Grade Your Pattern
Although some product types come in a single size, many will need to be graded to multiple different sizes, especially anything that goes on a body.
You’ll need to refer to a reputable, inclusive size chart, such as these ones from the Craft Yarn Council that we recommend for further reading.This will help you decide what size each part of the finished item should be.
There are lots of online courses that will teach you to grade, if you don’t know how to. Alternatively, some tech editors (see below) also offer a grading service.
8. Get Your Knitting Pattern Ready for Sale
At this stage, you should have written every single instruction needed to create your finished product. Now it’s time to have your pattern tech edited and tested! A tech editor is like a copywriting editor, but specifically for knitting patterns. They will typically check that your stitch counts are correct and correlate with the instructions you’ve given, that your charts say the same thing as the written instructions, that your grading adds up, and that your instructions are clear. Simply put, you need to make sure that your instructions make sense.
Simply put, they will make sure that your instructions are correct and make sense. Tech editing is a vital part of the process – it’s almost impossible to edit your own work accurately! You should of course review the document before sending it to your editor; there is an excellent pre-tech-edit checklist available here.
The next step is to have your pattern test knit. This is when you make the initial PDF version of the pattern available for free to volunteer knitters, who will knit it and provide feedback. Test knitting is a wonderful way to get real feedback from real knitters regarding everything from the clarity and accuracy of your instructions to the helpfulness of your photos.
Once you’ve determined that your knitting pattern is ready for sale, create a final PDF version of your pattern as this is the digital file that you will deliver to your customers.
How to Sell Knitting Patterns Online for Free
There are a variety of options available, from online marketplaces and social media platforms to your own website. Each platform has its own benefits and drawbacks, so it’s important to consider which one is best for your business. You may also want to consider listing your patterns on multiple platforms. That said, the easiest and most budget-friendly way to sell your own patterns online is to create a free online store using Payhip.

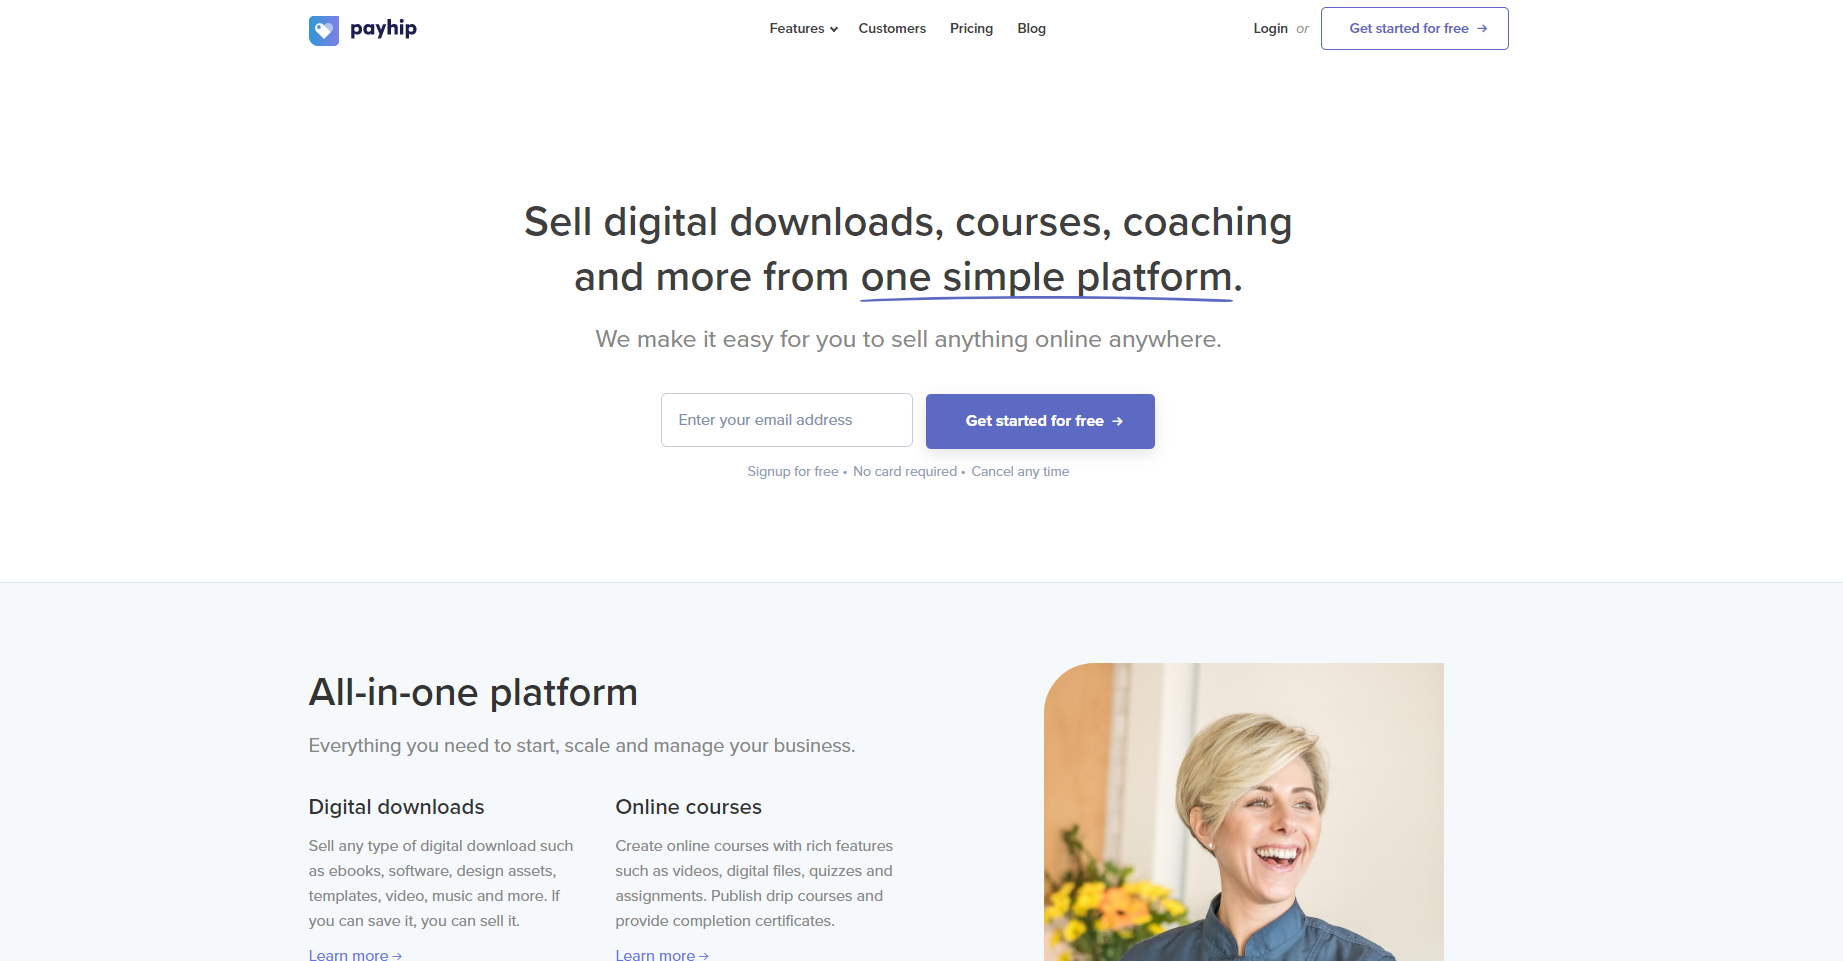
1. Create a Free Online Store/Website
Platforms like Payhip allow you to create a beautiful website where you can sell your own knitting patterns from. You won’t have to worry about paying for any third-party platforms or expenses as Payhip provides a free all-in-one tool that allows you to launch your pattern online store within minutes!
Some benefits of using Payhip include:
- Generous forever-free platform. Payhip only charges a 5% fee when you make a sale, so if you’re just starting out and don’t have a lot of customers yet, you won’t have to pay anything.
- Instant delivery of digital files to your customers. This allows your customers to make a payment on your website and get your knitting pattern PDF instantly without your involvement. This allows you to have more time to focus on other aspects of your business – yay!
- If your knitting pattern is updated in future, you can use Payhip’s Email Updates feature to send an updated download link to your customers
- Free fully-hosted domain. You’ll get a free website/online store with the following customizable store name payhip.com/[yourcustomstorenamehere]. But you can also connect a custom domain e.g. janesmithknitting.com if you’d like to
- Simple drag and drop website builder that can be fully customized to match your branding aesthetics. No coding skills or design skills required
- Instant payouts through Paypal and Stripe
- Automatic collection and remittance of UK & EU VAT
- Built-in eCommerce tools so you can sell a range of product types such as digital downloads, online courses, coaching, subscriptions or memberships, and physical products
- Advanced marketing features such as referral system, affiliate program, upselling, cross-selling, coupon codes, email marketing, and more are all available on the free plan
Payhip is well-known for having a beginner-friendly and intuitive user interface. Payhip also provides a lot of guided video tutorials to ensure your success in setting up your online business.
Sign up for a free account on Payhip to create your own free online store/website.
2. List Your Knitting Pattern for Sale
Once you’ve created your free website/online store with Payhip, it’s time to upload your knitting pattern as a product listing.
Wherever you choose to sell your patterns, you’ll need to provide plenty of information to the customer so they can decide whether or not your pattern is right for them. Needles and notions, sizing, and plenty of photos are a must!
One of the most important decisions is pricing your pattern. Too low and you undervalue not just your work but that of other designers in the industry; too high and customers will be put off. It’s important that your price accurately reflects the amount of information included in your pattern (as it does vary between designers!). You’ll probably already have an idea of what other designers are charging for patterns like yours, but take the time to do some research.
Once your pattern file and its product listing is complete, you’re ready to sell!
Payhip has a comprehensive tutorial on how you can upload your knitting pattern as a product listing here. But generally speaking, the process involves:
- Uploading your knitting pattern PDF on the product listing
- Setting up your knitting pattern product title, description, and price
- Uploading some pictures as your product listing photos
- Publishing your product listing
The whole product upload process should take less than 2 minutes.
3. Promote and Drive Traffic to Your Knitting Pattern Store
Now it’s time to start promoting your patterns store. This can include using social media, attending craft fairs and events, or advertising on other knitting-related websites.
It’s also a good idea to establish a blog where you can publish blog post content relating to knitting. Your blog post will gain organic traffic from Google Search Results, resulting in more website traffic to your website.
You can also consider offering short-term discounts or promotions to encourage people to purchase your patterns. This is especially effective during new pattern release.
Consider reaching out to knitting influencers or bloggers to review your patterns and share them with their followers. Additionally, you can create a mailing list to keep your customers informed of new patterns and promotions. Finally, you can create a referral program to reward customers who refer their friends to your patterns.
Be sure to take advantage of Payhip’s free marketing tools such as coupon codes, referral system, affiliate program, mailing list, cross-sell, upgrade discount, and more. This allows you to launch effective marketing campaigns on your social media and elsewhere.
Sell Knitting Patterns with Payhip
No monthly fees. No tech headaches.
Troubleshooting Common Issues When Selling Knitting Patterns
When selling knitting patterns, there are a few common issues you may encounter along the way. These include copyright infringement, receiving negative customer feedback, and poor sales. So here are a few tips to overcome these issues:
- Create comprehensive terms of use within your knitting pattern PDF. This should include guidelines on how your customers can interact with your knitting patterns e.g. is your pattern free for personal use only? Or are you also giving commercial rights to your customers? You’ll also be able to establish your property rights in the terms of use section.
- Responding to customer feedback. One of the benefits of selling your knitting patterns from your own website (as compared to selling on marketplaces like Etsy) is the fact that you can enable an approval-only customer review feature to ensure that you don’t fall victim to unfair 1 star reviews. If you do receive negative reviews, you can decide to not publish those reviews on your website, but make sure to always reach out to those specific customers to reach a resolution.
- Offer your knitting patterns for free to obtain feedback. Getting test knitters to try out your pattern is a great way to ensure that your pattern is optimized for various audiences. Your test knitters are most likely able to provide valuable pattern notes and feedback that can improve your knitting pattern. On Payhip, you can easily set your knitting pattern product listing to $0 or to a pay-what-you-want pricing.
FAQ – Creating Your Own Patterns & Selling Them Online
Can you create your own knitting pattern?
Yes, creating your own knitting pattern can be a fun and creative experience. All you have to do for pattern writing is to decide on the type of knitted item that you’d like to design for, write down the instructions on how to make it, and publish it online for other knitting enthusiasts.
Can you make money selling knitting patterns?
Yes, you can sell knitting patterns on your own website for free using Payhip. Or you can also sell on online marketplaces like Ravelry or Etsy. Knitting patterns can be a great source of passive income.
Where can you sell knitting patterns online?
You can sell knitting patterns on your own website for free using Payhip. Another popular marketplace for selling patterns is Ravelry. Check out our guide for more ravelry alternatives.
Final Thoughts
With the right platform, pricing strategy, and marketing strategy, you can turn your passion into profit. We hope that following this step-by-step guide will help you get started on the right foot to design your own knitting.
Join over 130,000 creators who have successfully created their online businesses with Payhip. Sign up for a free account on Payhip to start your dream knitting pattern business within less than 5 minutes.
Related Articles
If you’re keen to learn more about selling digital products and patterns online, check out some of our other guides:
Payhip
Join over 130,000 creators who have launched their businesses selling digital products, online courses, memberships, coaching, and physical products.
Get started for free today
Comments
Leave a Comment